Jellyfish Foundation Paper Piecing Pattern
Free to print · Advanced · 84 pieces · 24 sections · 14″ block
A jellyfish drifting in deep water: a round bell striped in pink and lavender, a plum scalloped rim and four wavy zigzag tentacles, on navy.
Opens in the free FPP tool. Pick your fabrics and block size, then print or download the PDF. No account needed.
- Finished size
- 14″ × 14″
- Prints at
- 4 to 18″
- Pieces
- 84
- Sections
- 24
- Smallest piece
- about 0.4 sq in at 14″
- Fabrics
- 4
- Skill level
- Advanced
- Price
- Free, no sign-up
- Using it
- Use it for anything you sew, including quilts you sell. Please don't resell or repost the pattern itself; share a link to this page instead.
About this pattern
The Jellyfish is a free foundation paper piecing (FPP) pattern from NiftyFifty: a 14-inch square block of 84 pieces sewn in 24 sections, using 4 fabrics, at a advanced skill level. It opens in NiftyFifty's free browser-based FPP tool, which prints mirrored foundations with 1/4-inch seam allowance at 4 to 18 inches. Every seam is a straight line, so the whole block is sewn with the flip-and-sew method.
Piece map
Letters are sections, numbers are sewing order. Dashed lines outline each section's foundation.
How to sew it
- Open and printOpen the pattern in the free FPP tool, pick your fabrics and a block size (4 to 18 inches), and print or download the PDF. Print at 100% and check the 1-inch test square.
- Cut the foundations apartCut each section's foundation apart just outside its dashed line. The dashed line is the 1/4-inch seam allowance.
- Sew each section in number orderSew all 24 sections on the foundation, piece 1 first, then 2, 3 and on. Flip, press and trim the seam to 1/4 inch after each one. When a section is done, trim it on its dashed line.
- Join the sections
Show all 23 joins, in order
- Join section A to section B along their shared straight seam.
- Sew section C to the A+B assembly along their shared straight seam.
- Sew section D to the A+B+C assembly along their shared straight seam.
- Join section E to section F along their shared straight seam.
- Sew section G to the E+F assembly along their shared straight seam.
- Sew section H to the E+F+G assembly along their shared straight seam.
- Sew section I to the H+E+F+G assembly along their shared straight seam.
- Sew section J to the I+H+E+F+G assembly along their shared straight seam.
- Sew section K to the I+H+E+F+G+J assembly along their shared straight seam.
- Join the D+A+B+C assembly to the I+H+E+F+G+J+K assembly.
- Join section L to section M along their shared straight seam.
- Sew section N to the L+M assembly along their shared straight seam.
- Sew section O to the N+L+M assembly along their shared straight seam.
- Join the D+A+B+C+I+H+E+F+G+J+K assembly to the N+L+M+O assembly.
- Join section P to section Q along their shared straight seam.
- Sew section R to the P+Q assembly along their shared straight seam.
- Sew section S to the R+P+Q assembly along their shared straight seam.
- Sew section T to the S+R+P+Q assembly along their shared straight seam.
- Sew section U to the T+S+R+P+Q assembly along their shared straight seam.
- Sew section V to the U+T+S+R+P+Q assembly along their shared straight seam.
- Sew section W to the V+U+T+S+R+P+Q assembly along their shared straight seam.
- Sew section X to the W+V+U+T+S+R+P+Q assembly along their shared straight seam.
- Join the D+A+B+C+I+H+E+F+G+J+K+N+L+M+O assembly to the X+W+V+U+T+S+R+P+Q assembly.
- Finish the blockPress, check that the block measures 14.5 inches square with seam allowance (14 inches finished), then tear the paper away.
Fabrics
- Navy60% of the block, 46 pieces
- Blush18% of the block, 17 pieces
- Lavender18% of the block, 17 pieces
- Plum4% of the block, 4 pieces
Suggested colors. The printed pattern lists rough-cut sizes for whatever fabrics you choose.
Choosing a block size
Smaller blocks mean smaller pieces. Under about half a square inch, pieces get fiddly, so this one is most comfortable at 16″ and up.
| Finished block | Smallest piece |
|---|---|
| 6″ × 6″ | about 0.1 sq in |
| 8″ × 8″ | about 0.1 sq in |
| 10″ × 10″ | about 0.2 sq in |
| 12″ × 12″ | about 0.3 sq in |
| 14″ × 14″ (as drafted) | about 0.4 sq in |
| 16″ × 16″ | about 0.6 sq in |
A sewing tip for this block
The tentacles are zigzags of short strips, so match each turn carefully and press toward the navy. A shimmery or batik print on the bell looks lovely against a dark background.
What to make with it
Great for an ocean themed baby quilt, a kid's bedroom pillow, or alongside the starfish and shell in a sea life sampler.
Try it in other colors
Try glowing aqua and sky blue on black, or orange and coral like a sea nettle. Every fabric can be swapped in the FPP tool before you print.
Make it yours: every pattern is a starting point
These patterns are free and open to change. Think of each one as a starting point, not a finished rule: remix it into your colors, your size, your idea.
- 1Open itEvery pattern opens in the free FPP tool, no account needed.
- 2Change anythingSwap fabrics, change the size, move or add seams. The sewing order and sections update on their own.
- 3Save it as yoursSave your version to a free account and share it. Other quilters can then remix yours, credited to you.
Questions
What can I make with the Jellyfish block?
Great for an ocean themed baby quilt, a kid's bedroom pillow, or alongside the starfish and shell in a sea life sampler.
Is this jellyfish FPP pattern free?
Yes. The Jellyfish pattern is free to open, recolor and print, and you don't need an account. It opens in NiftyFifty's free FPP tool, which prints the foundations or downloads them as a PDF.
Is the Jellyfish block good for beginners?
It's best once you have a few paper pieced blocks behind you: 84 pieces in 24 sections, so there are 23 joins to line up. Printing it larger makes every piece roomier.
How many pieces and sections does the Jellyfish block have?
84 pieces in 24 sections, using 4 fabrics. Each section is sewn on its own foundation, then the sections are joined along straight seams. The printed pattern numbers every piece in sewing order.
What size does it print?
It's drafted as a 14-inch finished block, and you can print it at 4 to 18 inches. At 14 inches the smallest piece is about 0.4 square inches; at 6 inches it's about 0.1 square inches.
Can I sell quilts I make from the Jellyfish pattern?
Yes. Use it for anything you sew, including quilts you sell. Please don't resell or repost the pattern itself; share a link to this page instead.
Is there a PDF of the jellyfish pattern?
Yes. The FPP tool downloads a PDF with a 1-inch test square, a color key, an assembly map, the sewing order and every foundation drawn at exact size with 1/4-inch seam allowance. Print it at 100%.
Can I change the colors?
Yes. Open it in the FPP tool, click a piece, then click a fabric: over 600 real Kona and Bella solids plus thousands of prints. You can also move seams or add new ones before you print.
More like this
 Sea TurtleIntermediate · 54 pieces · 12 sections
 DragonflyIntermediate · 46 pieces · 9 sections
 Tropical FishIntermediate · 31 pieces · 7 sections
 Frog FaceAdvanced · 76 pieces · 20 sections
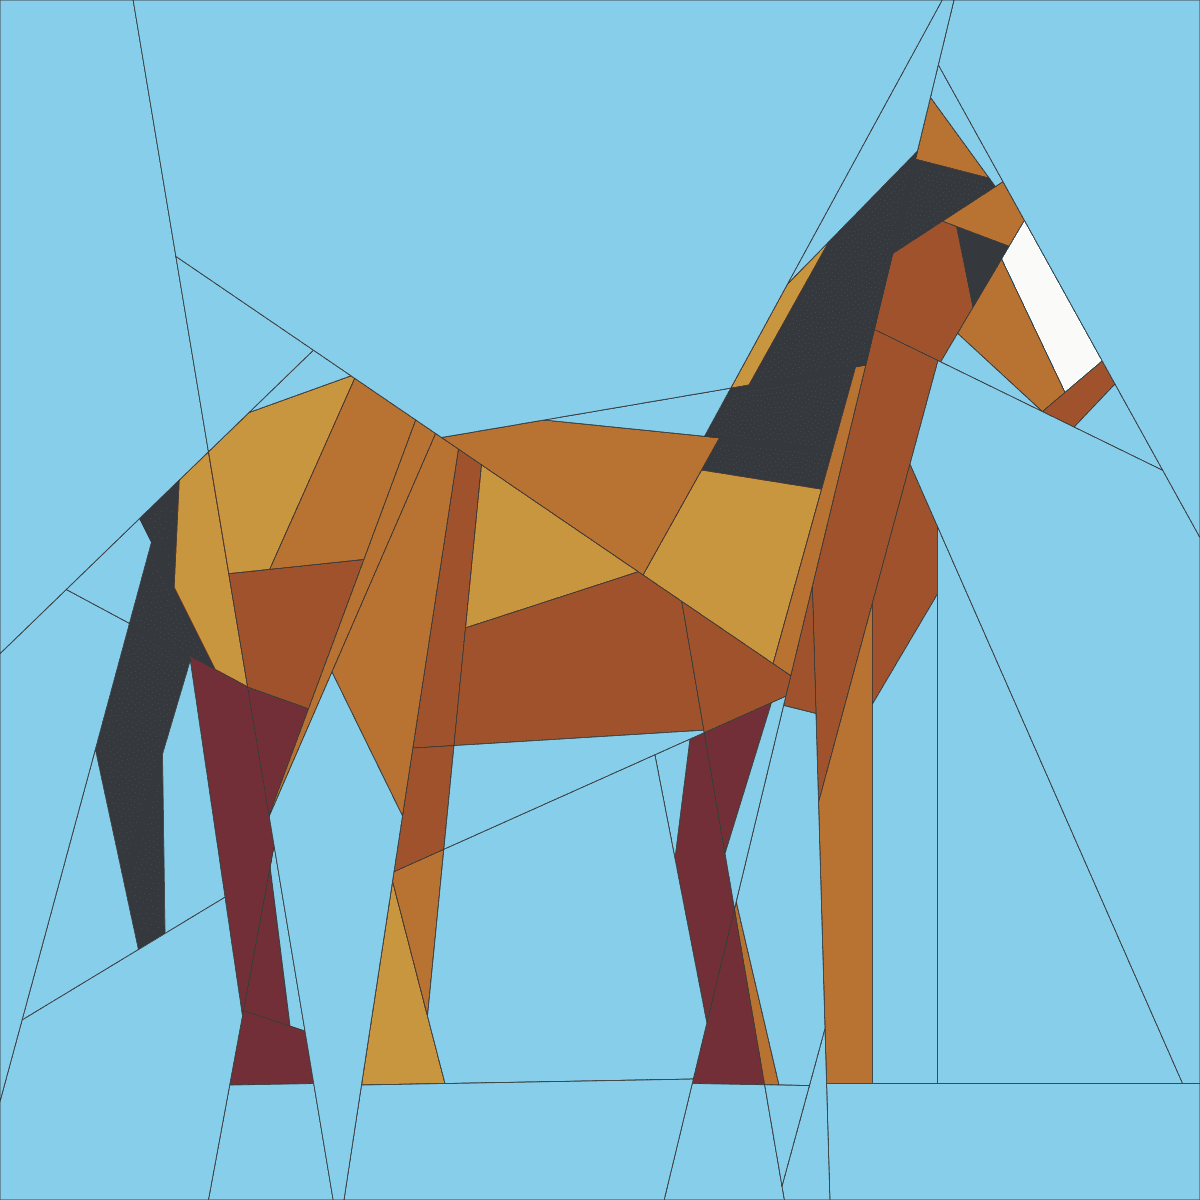 HorseAdvanced · 75 pieces · 21 sections
 ElephantAdvanced · 69 pieces · 19 sections
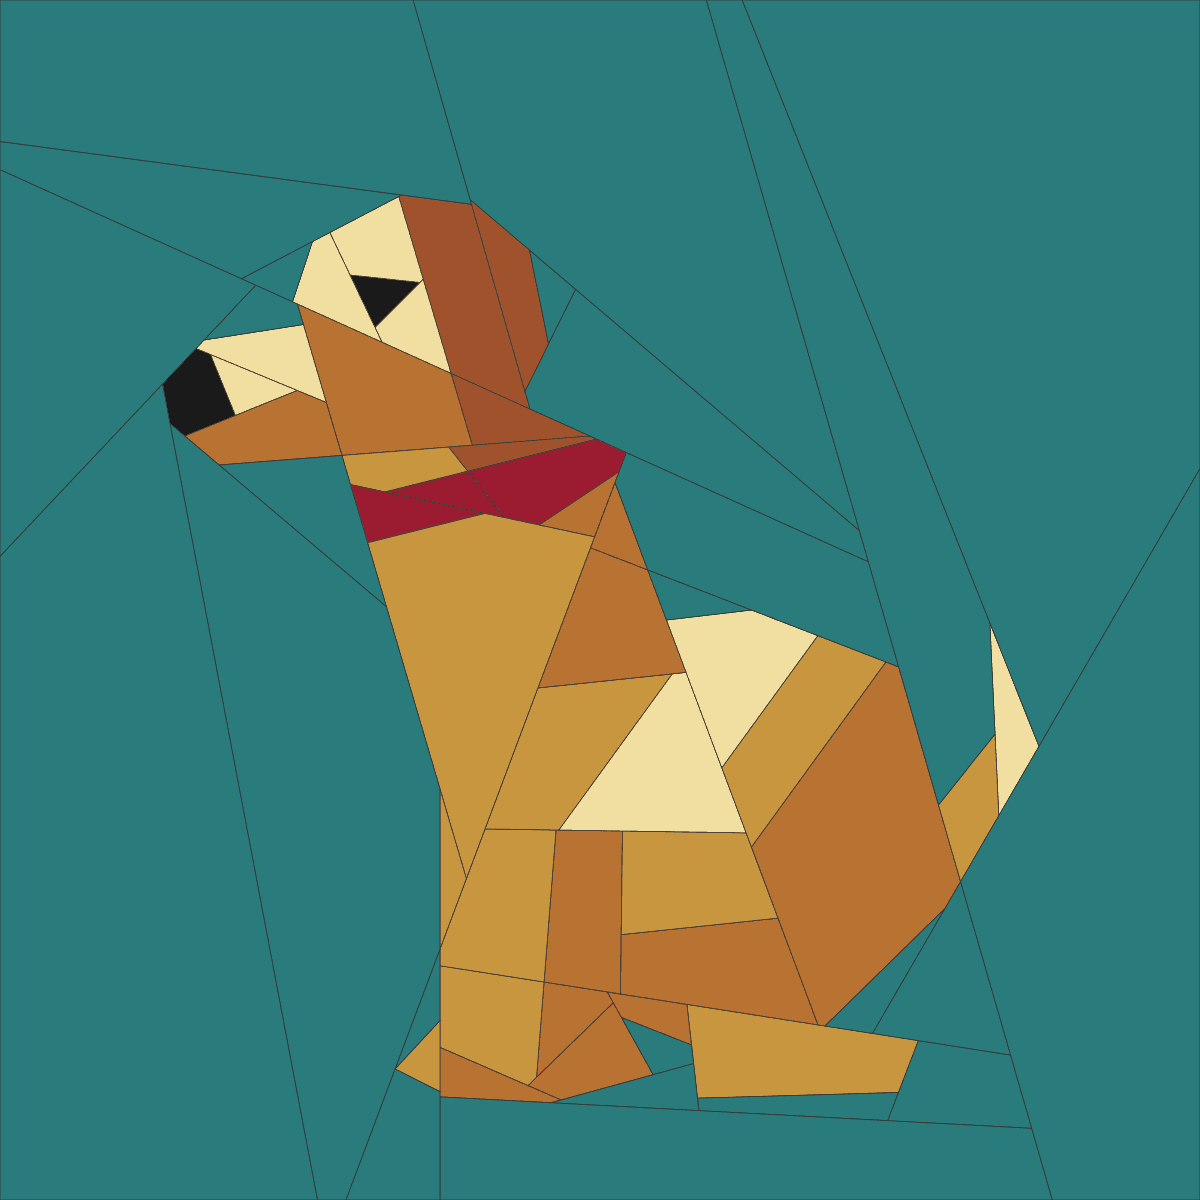 Sitting DogAdvanced · 65 pieces · 17 sections
 DeerAdvanced · 64 pieces · 21 sections
Part of: Free Summer and Beach Foundation Paper Piecing Patterns, Free Animal Foundation Paper Piecing Patterns. Or browse all free FPP patterns.
Want to draw your own? The free FPP pattern maker turns any drawing into a printable pattern, and the Pattern Designer builds pieced blocks on a grid.